|
Add a Matrix
To add a new Matrix

|
Please note: once a Matrix has been added and it has been used, it is hard to change it's layout. The only items you can change using the Web Application are Names and Labels.
E.g. if, after you have been using a Matrix, you want to add or remove Columns, Rows or Results, you will need involvement of Customer Support.
Therefore, before you add a Matrix, be certain that you are happy with its layout.
|
- In the Web Application, select Designer
 Field Types Matrix from the menu. Existing matrices list in alphabetical order. Field Types Matrix from the menu. Existing matrices list in alphabetical order. - Click New
- <New Record> displays at the top of the section.
- Type data into the fields
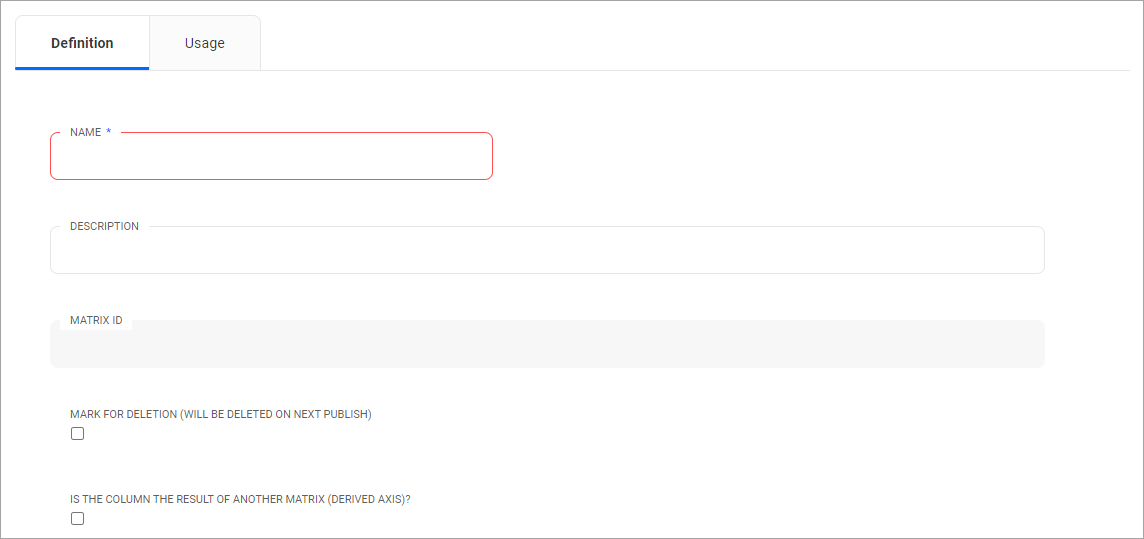
The fields are
- Name: Mandatory field. While you can enter a long name, try to keep it short so it can be read easily in other sections.
- Description: Optional. If you need to add more information about the matrix name, add it here.
- Matrix ID: System-generated number; you cannot change it.
- Mark for Deletion (will be deleted on next publish): Optional. Tick this box if you want to delete this matrix.
- Is this column the result of another matrix (derived matrix)?: Optional. Tick this box if you want to create a matrix with more than 2 dimensions.
- Click Save to save the Matrix.
Additional Tabs are now available:
Column Axis Definition, Row Axis Definition, Results Definition.
The process to add values to these tabs is identical. Start with the Tab Column Axis Definition.
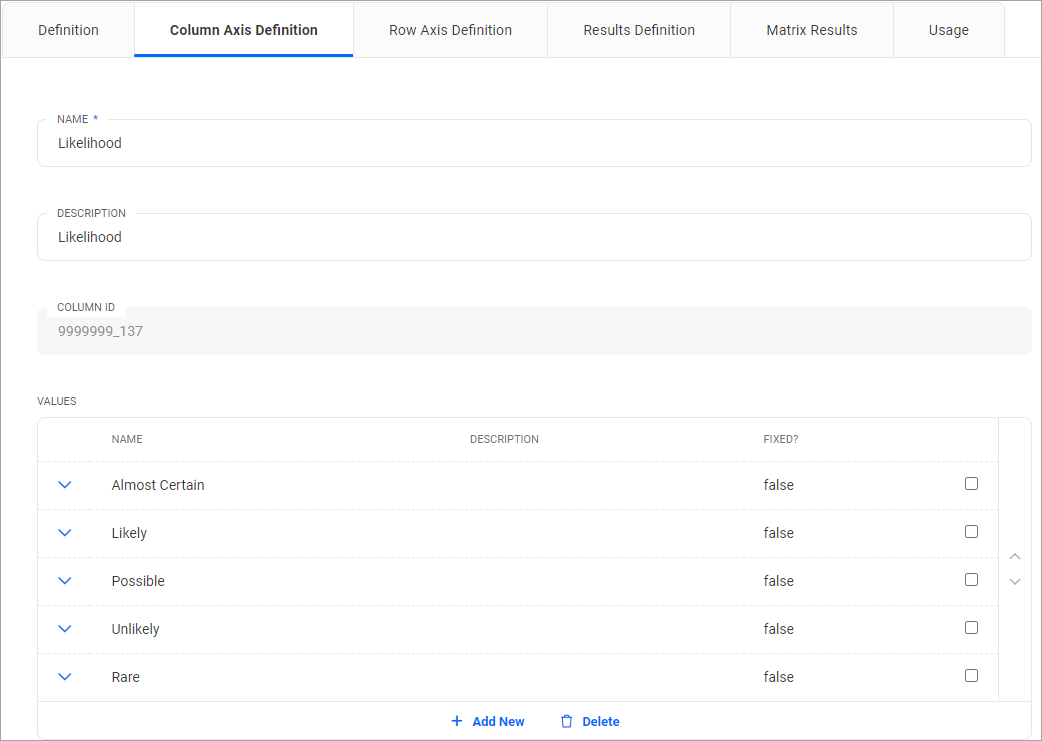
The fields are
- Name: Mandatory field. Enter the name of the Matrix Column
- Description: Optional. If you need to add more information about the matrix column, add it here.
- Click on the Add New Values link to add a new value for the column.
The fields are- Name: Mandatory field. Enter the Column Value
- Description: Optional. If you need to add more information about the column value, add it here.
- ID: System-generated number; you cannot change it.
- Mark for deletion (will be deleted on next publish): Optional. Tick this box if you want to delete this matrix column value.
- To sort the values in a desired order, select the value using the
 , then using the , then using the  or or  arrows to move it to the desired position. You will need to repeat this for every value that needs to be reordered. arrows to move it to the desired position. You will need to repeat this for every value that needs to be reordered. - Repeat the above steps for Row Axis Definition and Results Definition.
- Click Save to save the Matrix.
- Provided you have entered values for Columns, Rows and Results, after saving the system will display another tab Matrix Results:
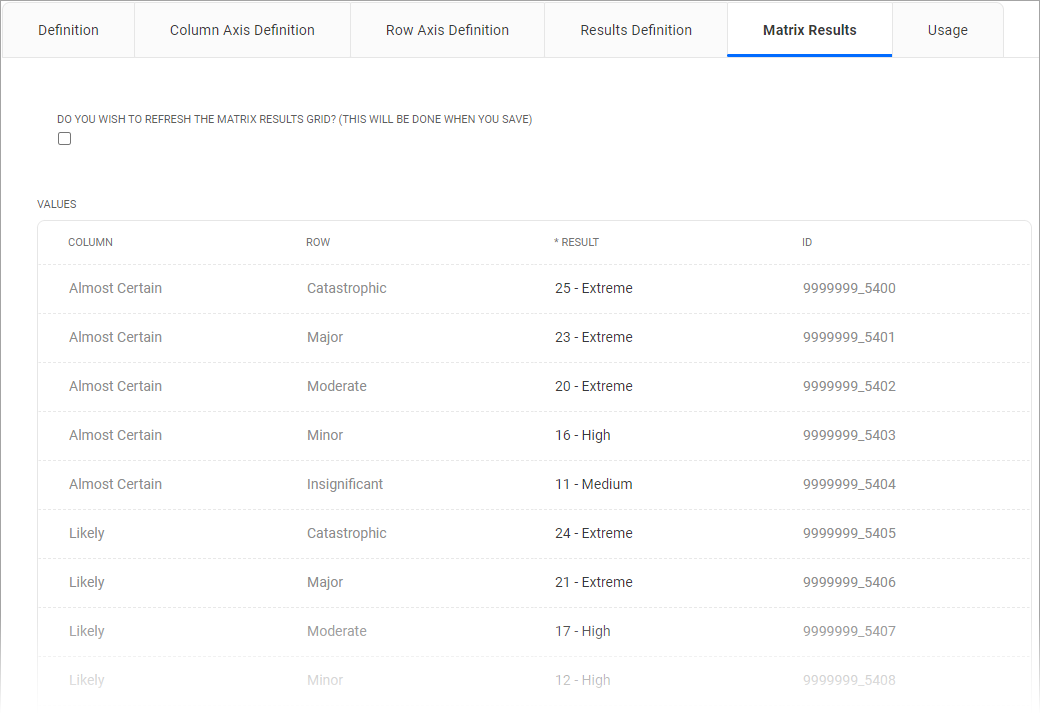
The fields are- Do you want to refresh the matrix results grid? (This will be done when you Save): select this button if you want to refresh the content of the table below. This will be necessary if you have added new Column, Row or Results Definition since you last saved the matrix.
- Column/Row: The system displays all possible permutations of Column and Row Values. These are system generated and cannot be modified.
- Result: This is were you assign a Result for each of the possible Column/Row combinations. You will need to select a Matrix Result value from this lookup list for each of these combinations.
- Click Save to save the now completed Matrix.
|
