Import Wizard (Initial Details)
|
Field
|
Description
|
Notes
|
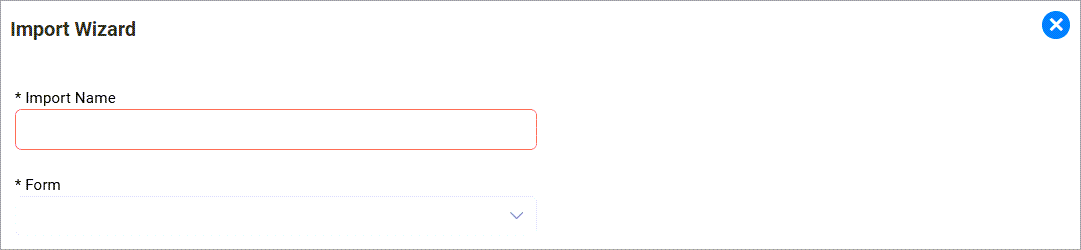
Import Name
|
The name of the import.
|
Should be unique. This is necessary if you wish to initiate an import manually.
Note: You may leave this blank and select the Form instead and the Import Name will be auto populated with [Form Name] appended with the word “Import “however the name will not be unique. The import name may not contain colons (:)
|
Form
|
Name of Form where the imported data will be seen.
|
Select the name of the form from the list.
Note: If you need to import to a 1:1 relationship e.g. Incident Investigation, please still select the form as the base form e.g. Incident and then you can choose the Root Component in the next step.
|
Root Component
|
The component into which the imported data will be stored.
|
This will be made visible after the Form is selected and will be auto populated with the root component of the Form.
Note: If you need to import to a 1:1 relationship e.g. Incident Investigation, please select the relevant component here.
|
Import Wizard (Page and Field Details)
|
Column
|
Description
|
Notes
|
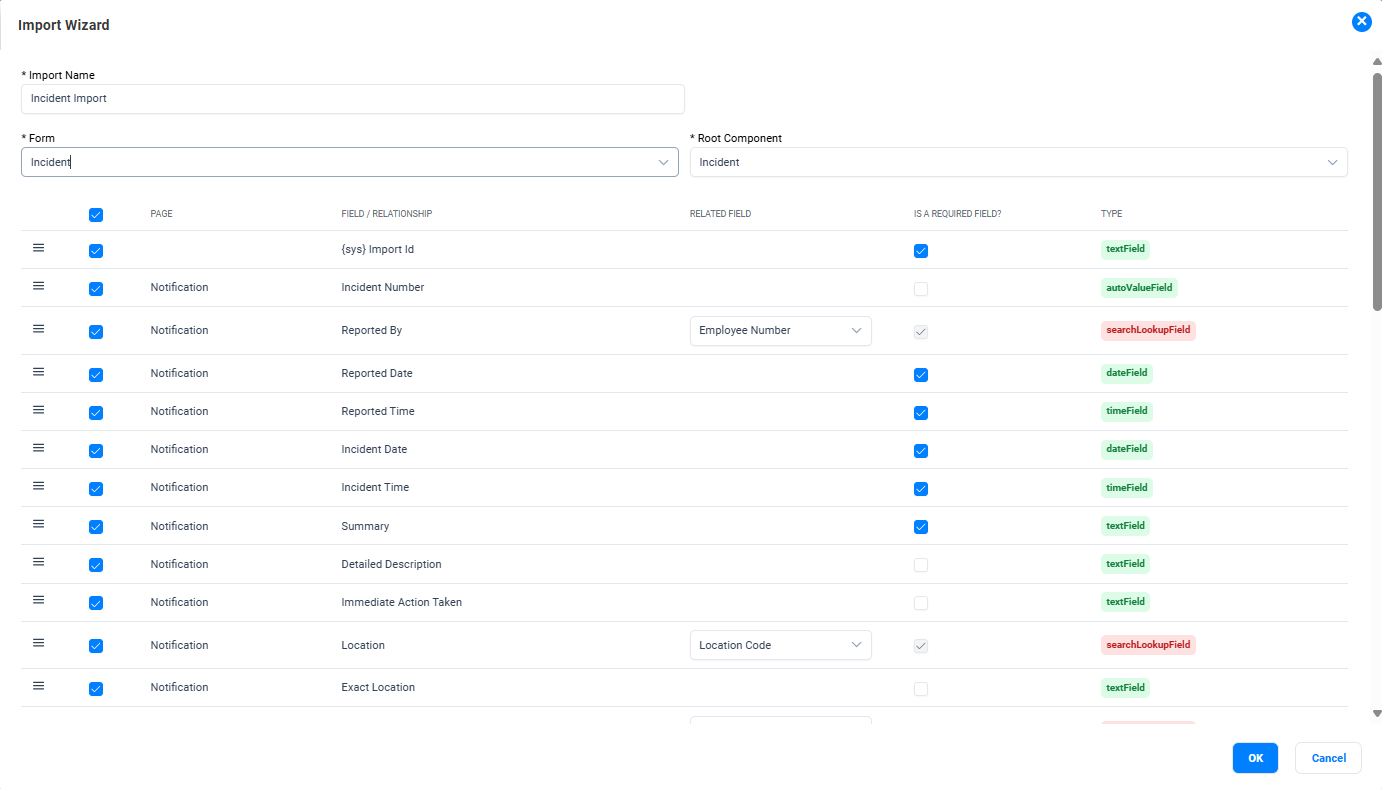
Page
|
The page in the form where the fields are located.
|
- This column will have the name of the page on the form starting from the first page and the fields in them.
- The checkbox next to the page will allow selection and deselection of all fields on that page.
Note: Fields from the hidden section of the form will not be available via the wizard.
|
Field / Relationship
|
Name of field or relationship on the form
|
- This column has the field or the relationship from the page. Subforms, suggestion assistant fields and map fields will be excluded.
- The checkbox next each field will allow you to include/exclude the field from the import configuration.
- The anchor points or drag handle (=) in the wizard enables the reordering of the rows in the list by dragging and dropping.
Note: The wizard will attempt to find a field which has "{sys} Import" or "{sys} Legacy" text field associated with the component and add that as the first row. If your legacy id field is named differently, you may need to add it m
|
Related Field
|
The related field to the relationship which will be used as the unique identifier for the import configuration.
The name of the field in the related component that the information references.
|
This will be available only for relationships.
Defaulting of Related field:
- Person component: The default related field will be the Employee Number
- Department Component: The default related field will be the Department Code
- Location Component: The default related field will be the Location Code
- If the wizard does not find a match as per above this will be left as blank however it will be mandatory.
Note: If there are multiple relationships to the same component, if one related field is changed, the other’s which have not been adjusted will be modified accordingly as well.
|
Is a Required Field?
|
The fields which are set as required on the form
|
The wizard will set the checkbox for all fields which are set as required on the form.
Note: Relationships cannot be set as required
|
Type
|
The field type for reference
|
Refer to the section below to understand the component field types mapped to the import field type.
|