|
How to Build a Dashboard
To create, or modify Dashboards, you will have to use the Dashboard Builder, which you can access:
- From the menu, select Designer
 Dashboards Dashboard Designer Dashboards Dashboard Designer - Select NEW to create a new Dashboard
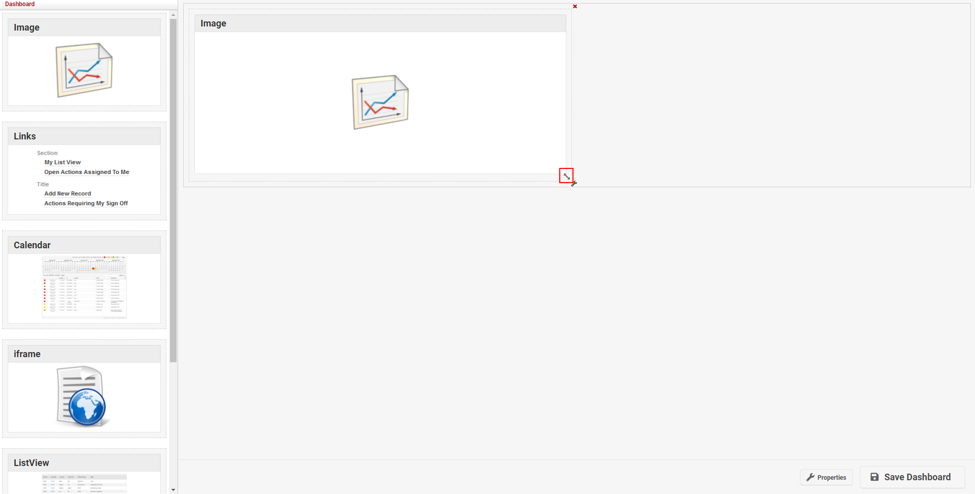
The Dashboard Designer is a graphical Design Tool, which will allow you to easily create both the layout, and the content of a Dashboard.
The Designer consists of two distinct Panels:
- On the left side, you have a range of icons which represent 'Widgets' (small programs).
You will select widgets for your dashboard, according to what you intend to display. - On the right side, the Designer displays the 'Canvas' of the Dashboard.
It is the content of this canvas which will determine the look and feel of the Dashboard.
The canvas is within the boundary of the grey border, which will expand as you add widgets
Creating the Dashboard Layout
- Drag the widgets from the left-hand panel onto the canvas.
- Define the Properties for each of the Widgets
- Position and size each of the widgets. By hovering of the widget and using the double arrow to shape and size the area to be occupied by the widget
- Name the Dashboard
- Run a Publish
- Restart Tomcat
The dashboards are dynamic in that you can have a variation of widgets by "row" and "column".
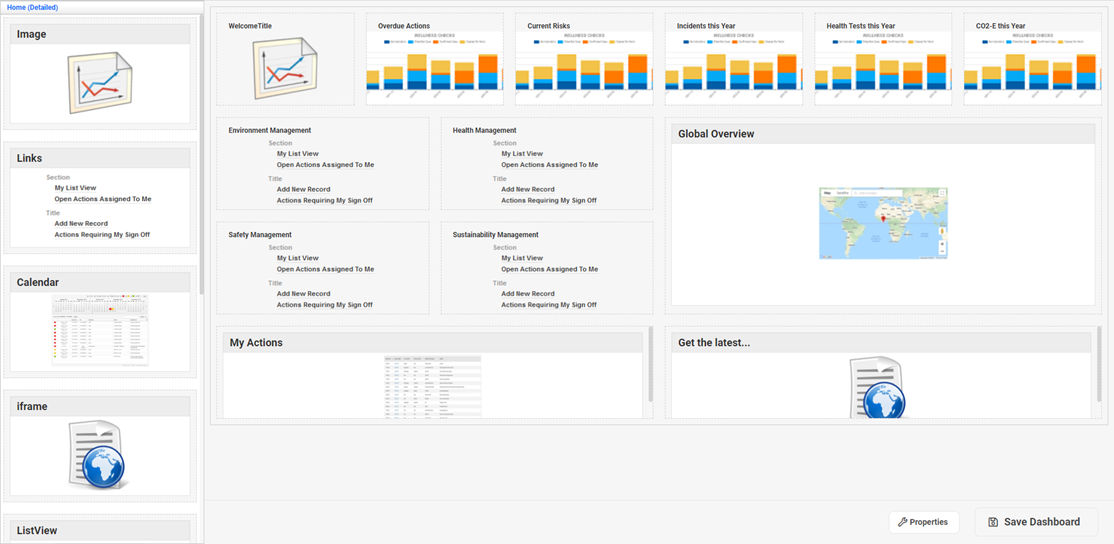
While the dashboard designer allows you design the overall intended structure of your dashboard, ultimately the height in pixels of each individual element will be obeyed when the dashboard is rendered, so you will need to ensure that the height of "inner cells" matches the height of the "outer cell".
Adding Widgets to the Dashboard
For the Task of ...
|
I need to ...
|
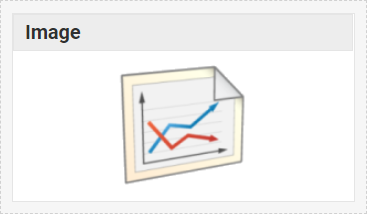
Adding an Image on the Dashboard.
NOTE: it is possible to use images as a Quick Link to access other information, or other parts of the Web Application.
|
Use the Image Widget
|
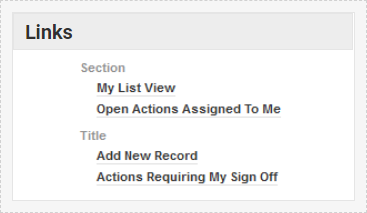
Adding a "Links", or "Hyperlinks", on the Dashboard.
|
Use the Links Widget
|
Adding
- Any HTML Source object from the HTML Library (like a Visualization)
- the content of a Web Site
- an HTML document to the Dashboard
|
Use the iframe Widget
|
Adding a List View to the Dashboard
|
Use the List View Widget
|
Adding a Map to a Dashboard
|
Use the Map Widget
|
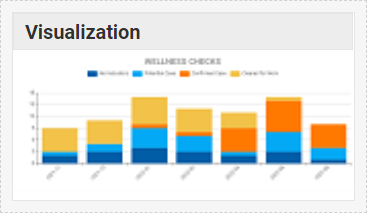
Adding a Visualization (number tile, chart, map, word cloud)
|
Use the Visualization Widget
|
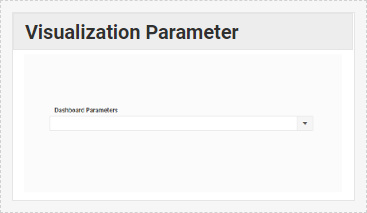
Adding a Visualization Parameter
|
Use the Visualization Parameter Widget
|
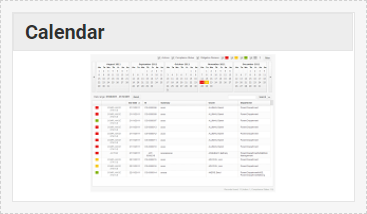
Adding a Calendar to a Dashboard
|
Use the Calendar Widget
|
Changing the position of a Widget
|
To move a Widget to a new position, drag and drop it to the new location.
|
Changing the size allowance of a Widget
|
To resize a Widget, simply drag the corner icon until the desired size is achieved.
Note that the sizes of cells shown in the Dashboard Designer are an indication of structure only. The height in pixels of each dashboard Widget is ultimately what drives the end product.
|
Removing a Widget if I don't need it
|
Place your mouse-cursor over the Widget you want to remove, and then click onto the cross in the top-right corner.
|
Configuring each Widget
|
Place your mouse-cursor over the Widget you want to modify, and then click onto the wrench symbol in the bottom-right corner.
The available options will depend on the Widget type. Please refer to the following sections for details.
|
|
