|
Create a Filter

|
Prerequisites
You can only perform this function if you have the following Role applied to your User identity: Policy Role - Build User Filters
|

|
It is advisable to only give these additional Options to a limited number of users, who have some understanding of the concept of relational databases.
The reason for this is that badly designed Filters, or Views, could potentially have significant performance impacts on the database.
|
Creating a filter involves:
- creating filter criteria
- adding the criteria to the Filter Tree
- setting up the filter structure to ensure accurate results
- saving and applying the filter.

|
Using the Filter Designer, you now have the ability to create some very complex filters. As with all complex filters, regardless of how they are built, there can be some time delay before you get the results. You should bear this in mind when building complex filters and consider using the recognized best practice standards for developing filters, to minimize any time impact.
|
To create a new filter
- From a List View, click on the Filter part of the Filter button. This opens the Filter Designer.
- In the Criteria section of the Filter Designer, click the Select a Filter Field . The Field Picker opens.
- From the list displayed in the Field Picker, search for and select a field or relationship that applies to your filtering needs. As you navigate, the hyperlinked path builds below the Field Picker.
- If you want to see the details of the field or relationship, click View to toggle the display on/off.
- Click OK to confirm your selection. The Field Picker window closes and the field is populated with the field/relationship details. Additional fields are added to the Criteria section.
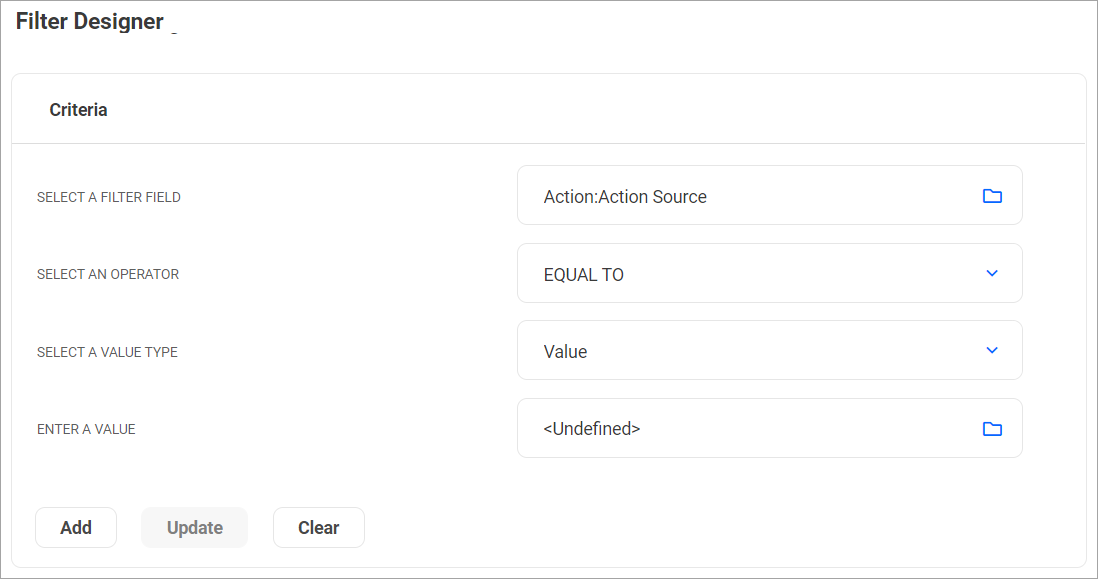
The options available for selection in these additional criteria fields will depend on what is selected in the Select a Filter Field field.
- The Select an Operator field allows you to select from a list of operators that relate specifically to the field or relationship you have chosen, for example the Incident/Consequences filter field shown in the example. The available options for this example are: EQUAL TO, NOT EQUAL TO, IN, NOT IN.
- The Select a Value Type field allows you to select one of five types of value. Depending on the value type you select, the options available for selection in the Select a Value field vary, again, depending on the operator and field or relationship selected.
Value Type
|
"Select a Value" field options
|
Value
|
Allows you to enter an actual static value.
|
Constant
|
Allows you to select from a list of pre-defined constants.
|
Field or Relationship
|
Allows you to select another field to compare.
|
Profile Value
|
Allows you to compare a profile value.
|
Parameter (default value)
|
Allows you to define parameters.
|
- Complete all the fields in the Criteria section and click Add when finished. The filter criteria move to the Filter Tree section.
- If you want to add more criteria to your filter, overwrite the data in the existing fields and click Add, or click Clear to clear the fields and start afresh.
- If you are using AND and OR operators in your filter, you may need to set up the filter structure, by increasing/decreasing indentation, to ensure the filter logic works correctly.
- Click Apply Ad Hoc to apply the filter without saving it or enter a name for the filter and click Save and Apply.
|
